Deploy Microservice flask-API in the Docker container with the help of Dockerfile and AWS.
This is a Microservice application built using Flask and deployed on Docker container.
Table of contents
- First of all, create an ec2 instance with the help of the AWS console
- Now our Dockerfile is ready to build the docker image of flask-api,but we don't have docker pre-install so let's install the docker in our instance Ubuntu machine
- Let's test our routes:
- Thank you !!!!!!!!!!!!!!!!!!!!!!!!!!!!!!!!!!!...
Hello, friend welcome to our project blog. this is my first project on docker please follow the process step by step to make this kind of project.
prerequisite:
AWS account with ec2 instance free version (t2.micro)
GitHub repository for source code
Docker and docker-compose install on that instance
Postman or Thunder Client tools for API testing.
First of all, create an ec2 instance with the help of the AWS console
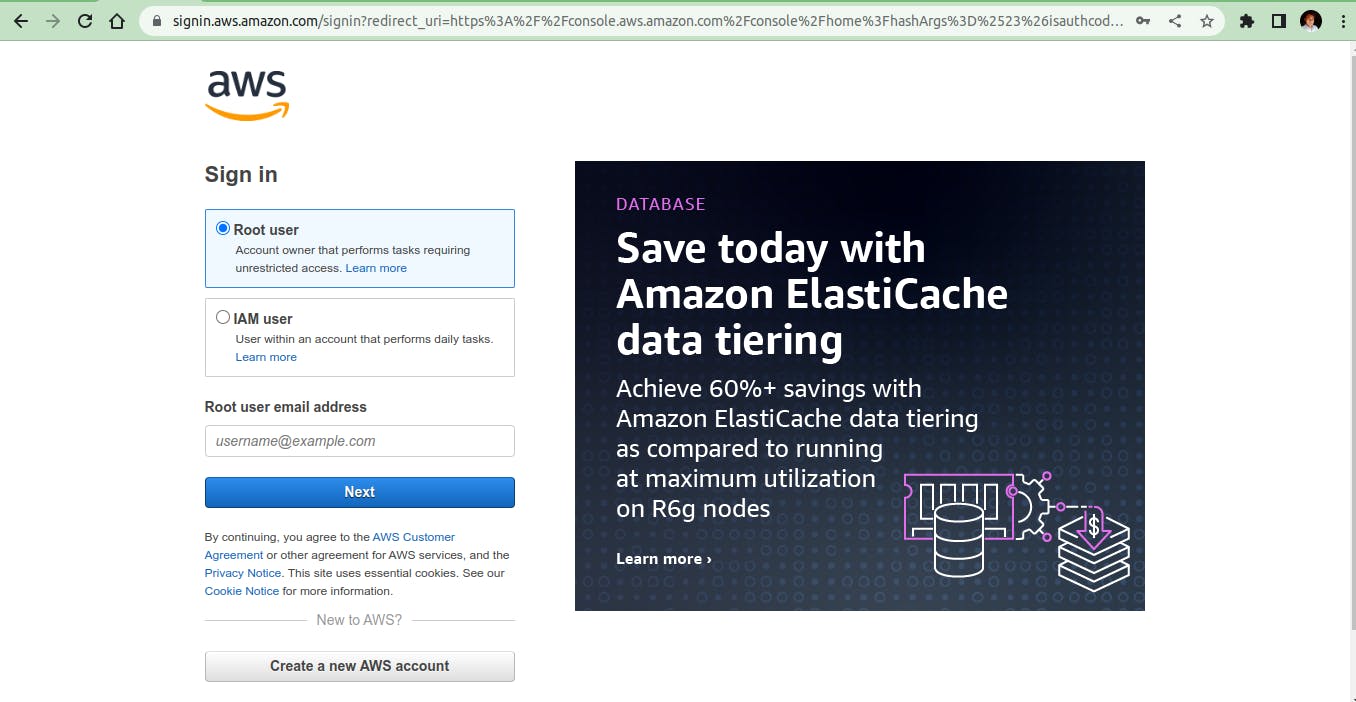
Login to AWS console :
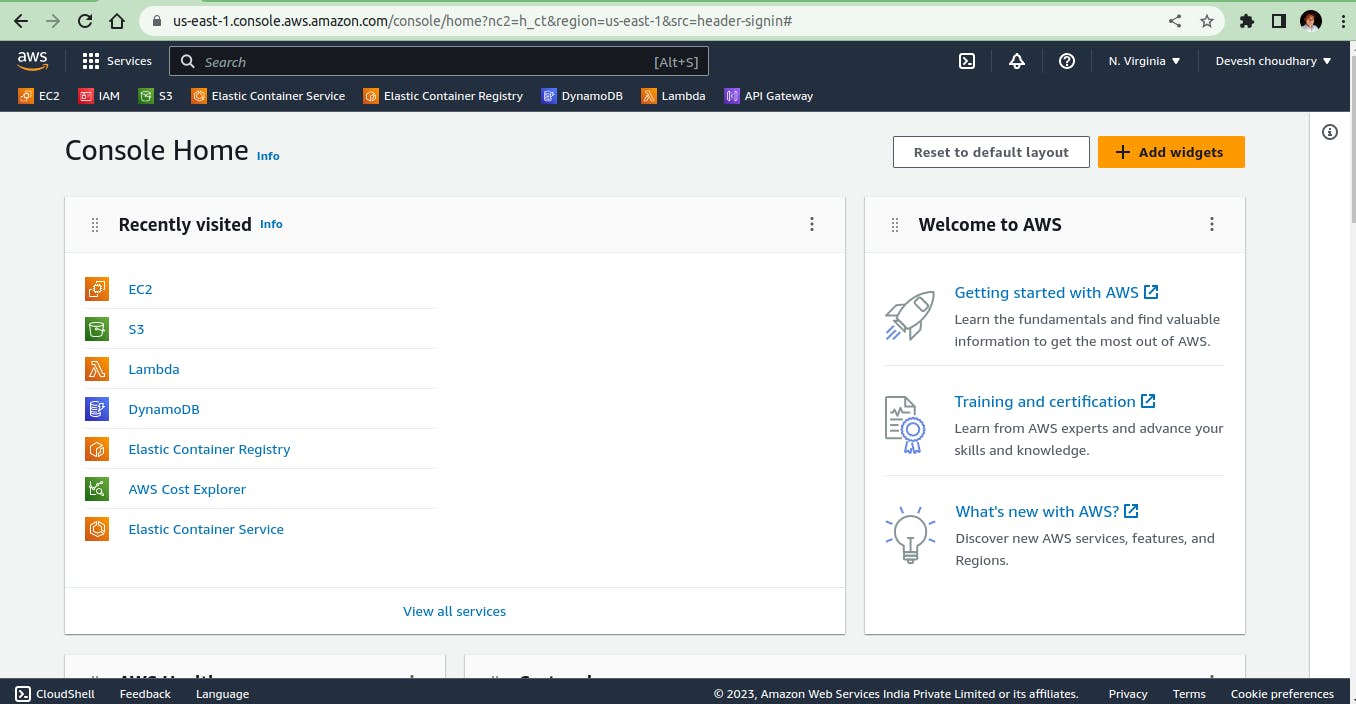
After login into AWS, we will see this kind of dashboard
After login select the EC2 service then create an instance with this default setting.
name: as per your choice eg: microservice-deploymentos image:Ubuntu's latestinstance type: t2.microkey-pair: select any if not, then create onenetwork setting:allow ssh and HTTP traffic for allstorage: default storageregion:us-east-1 ( North-Virginia)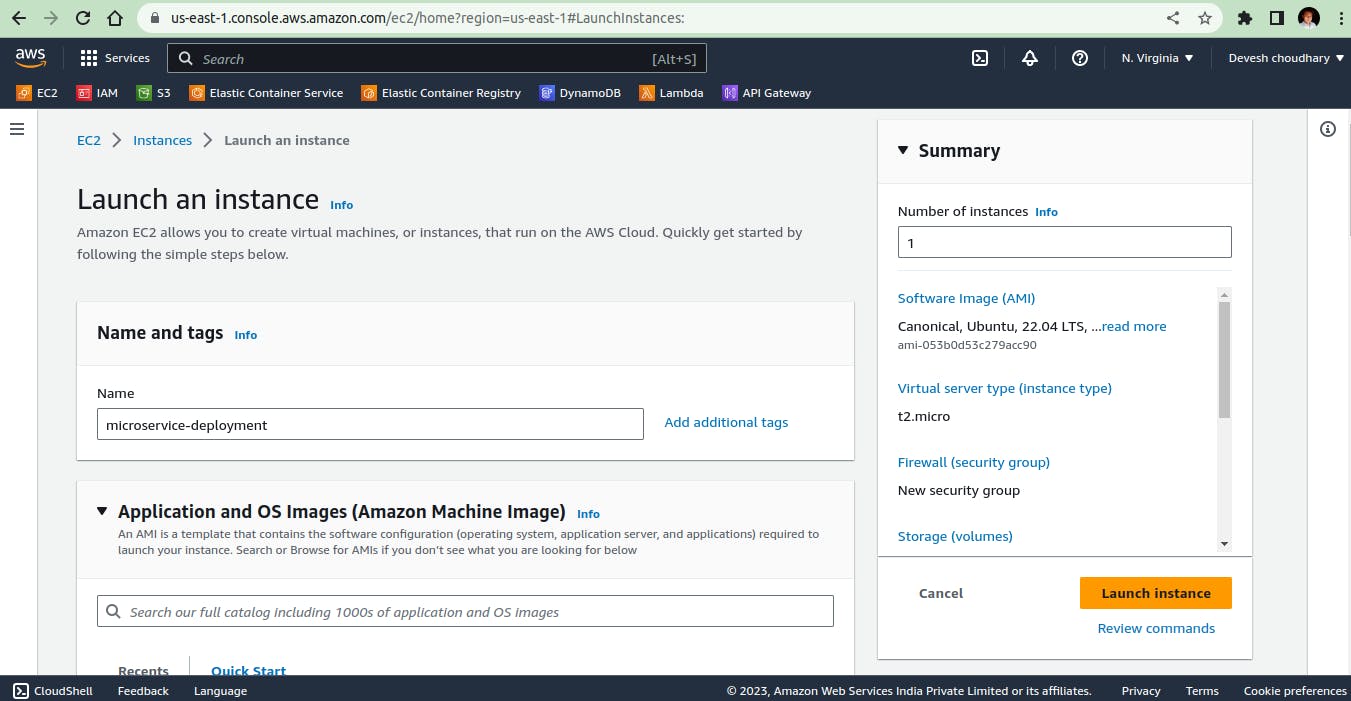
Our instance is up now :
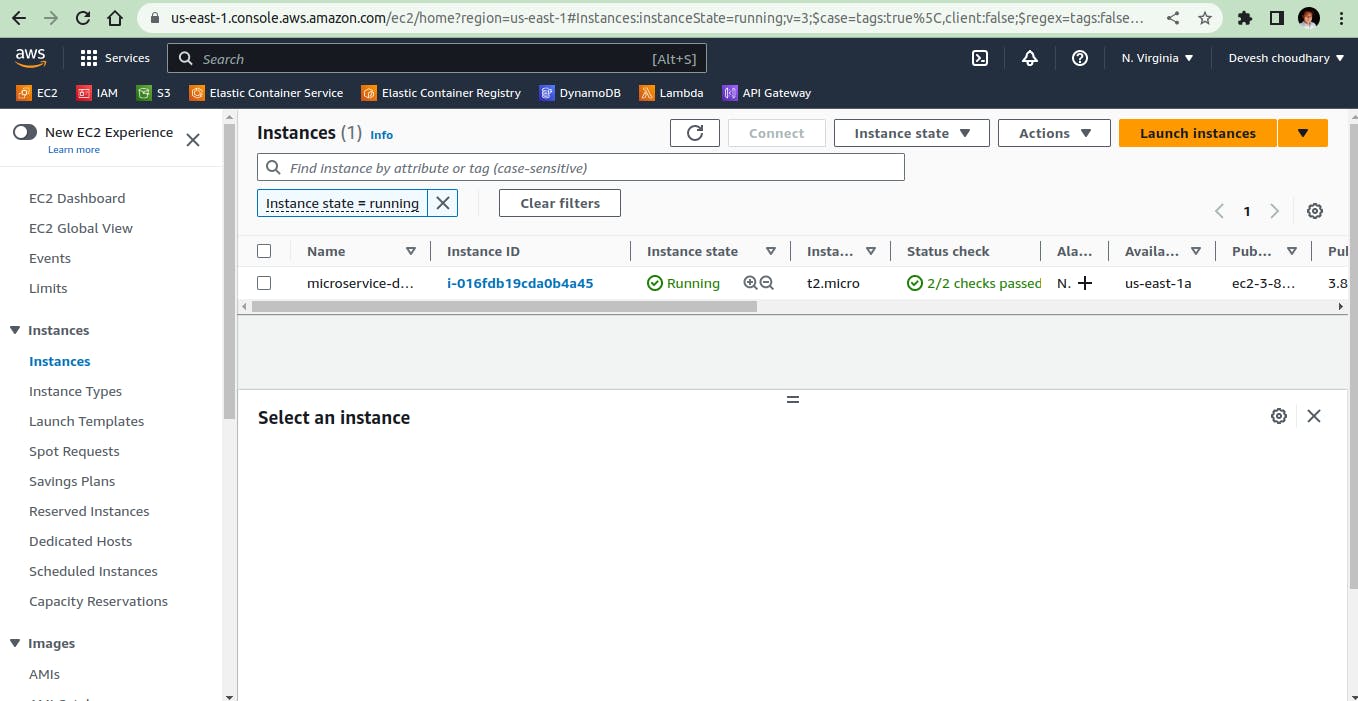
Now our instance is ready to work let's connect to it via ssh from our local machine.
Change to the directory where the key-pair is stored and do the ssh from there with the Root user (sudo ).
sudo ssh -i "my-new-ubuntu-key-pair.pem" ubuntu@ec2-3-82-22-168.compute-1.amazonaws.comnote : never forget to change the key-pair name.
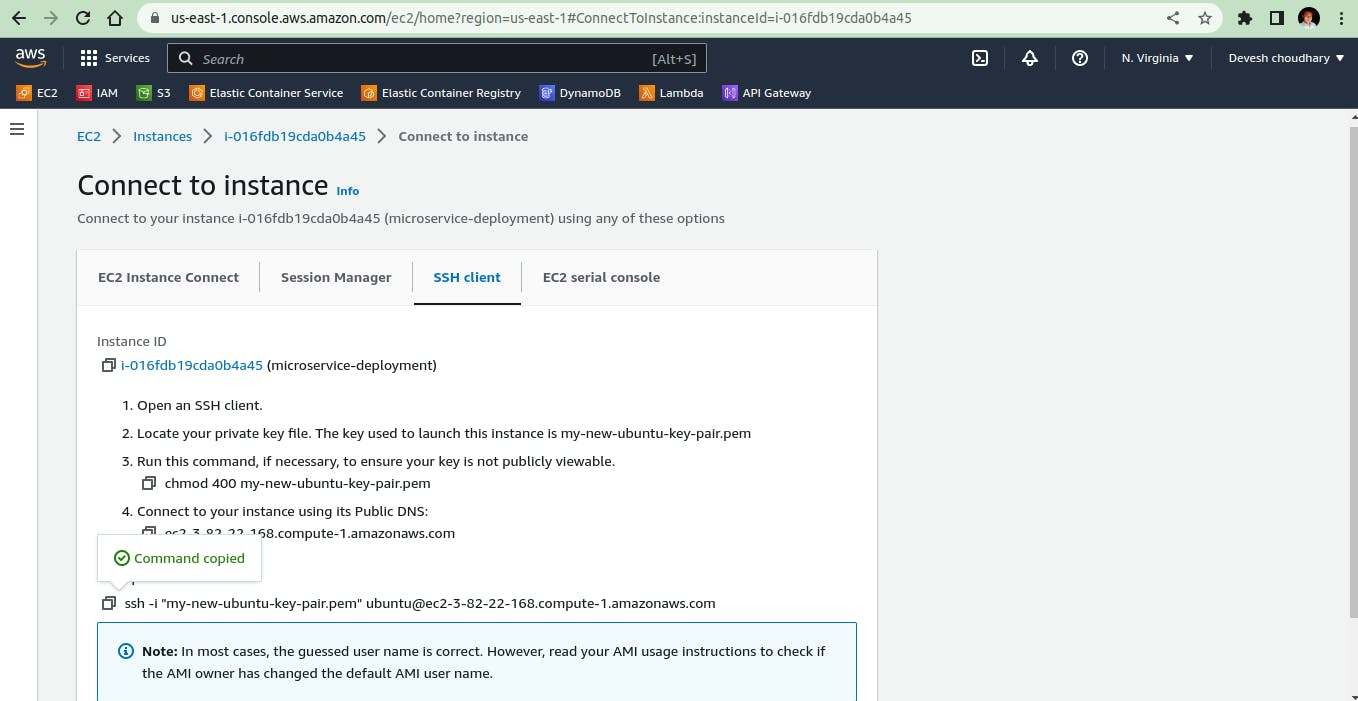
From our local machine :


Now its time to get the code from GitHub via the below link
https://github.com/LondheShubham153/microservices-k8s
Click on the code icon to clone the repository code. copy via HTTP methods
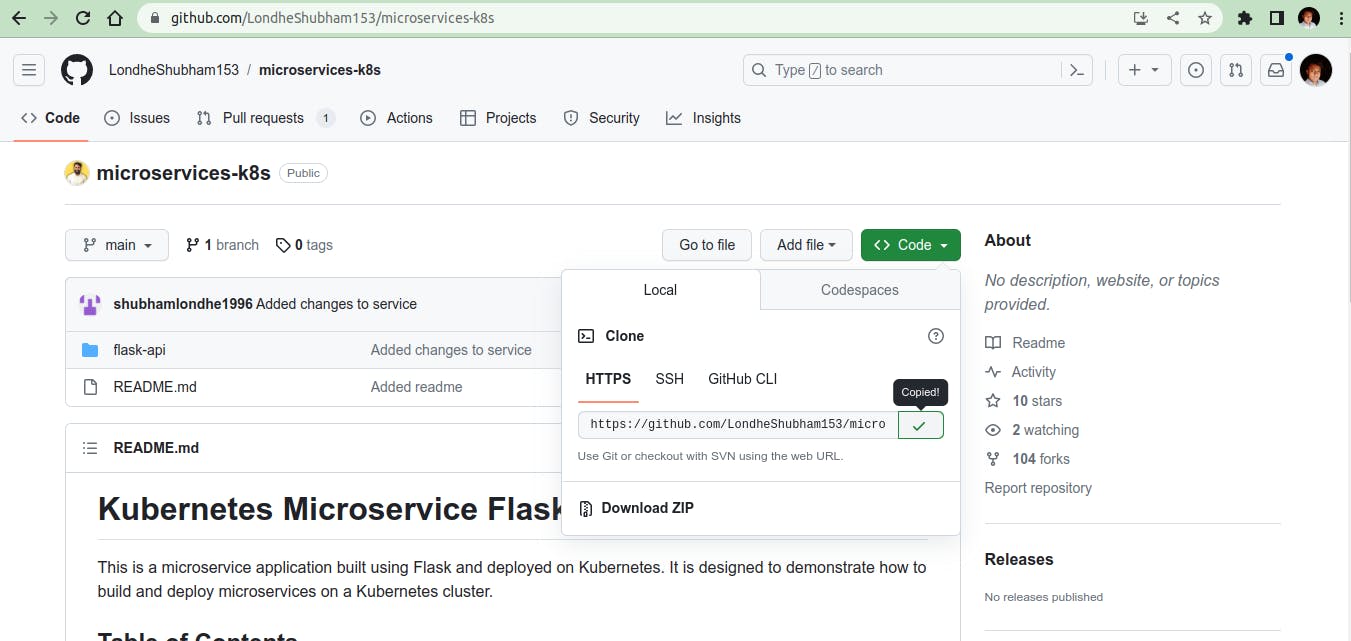
Clone the git repo using this command
git clone https://github.com/LondheShubham153/microservices-k8s.git

Now we have to change the git remote destination URL so we make a new repository in my GitHub account and change the URL with our new repository origin URL. now all deployment configuration files will be in my repository like Dockerfile.
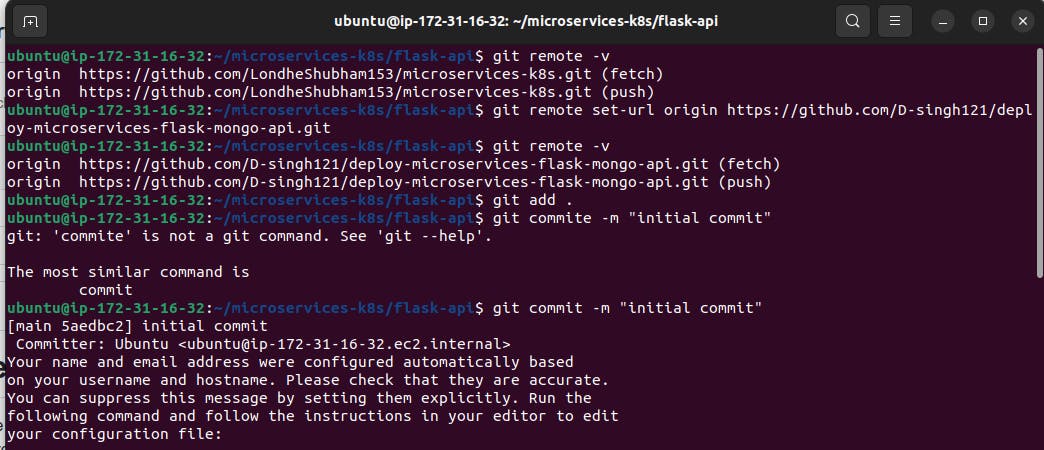

Let's start the main game, building the Dockerfile.

Oh, If u are not understanding the Dockerfile don't worry let me explain this thing.
FROM python:alpine3.7-> We are bringing the lightweight image of Python running on the Alpine Linux server.WORKDIR /app-> This line sets the working directory inside the Docker container to/app.COPY . /app-> This line copies all the files and directories from the host machine to the/appdirectory inside the Docker container.RUN pip install -r requirements.txt-> This line runs thepip installcommand inside the Docker container to install the required dependencies listed in the requirements file.ENV PORT 5000-> Sets an environment variablePORTto the value5000. Environment variables are used to pass configuration values to the running application inside the container.EXPOSE 5000-> Container listening port number.CMD ["python", "app.py"]-> Command for running any Python application.
Now our Dockerfile is ready to build the docker image of flask-api,but we don't have docker pre-install so let's install the docker in our instance Ubuntu machine
To install and run docker in our system run the following commands
  sudo apt-get update -y  # Update the system or machine
  sudo apt install docker.io  # Installing  docker
  docker -v  # for checking docker version
  sudo systemctl start docker  # For starting docker service
  sudo systemctl enable docker # Configures the Docker service to start automatically when the system boots up.
  sudo systemctl status docker  # Displays the current status of the Docker service.
  sudo usermod -aG docker $USER # add user to the docker group for permission purpose .
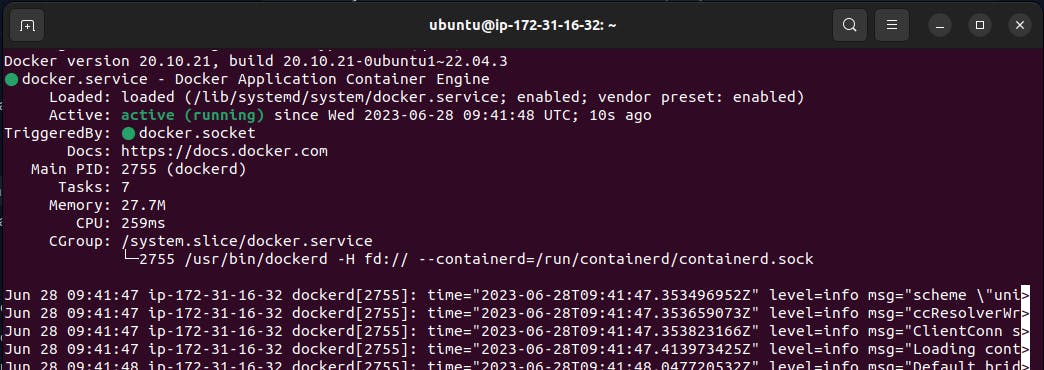
now we have installed all Docker services and enabled them after adding our User to the Docker group. let's
rebootthe system once to see the effect of the docker service.
Now again connect the instance then we can start the docker image-building process.
  docker build --no-cache -t flask-mongo-api:latest .
  # here " --no-cache " mean every build will start with fresh build no previos cache .
Note:
docker build-> This is the docker command to build the docker image from Dockerfile.-t-> Tag for the image.-> Show the current directoryflask-mongo-api-> Our app image name:latest-> Image version tag (Keep always latest)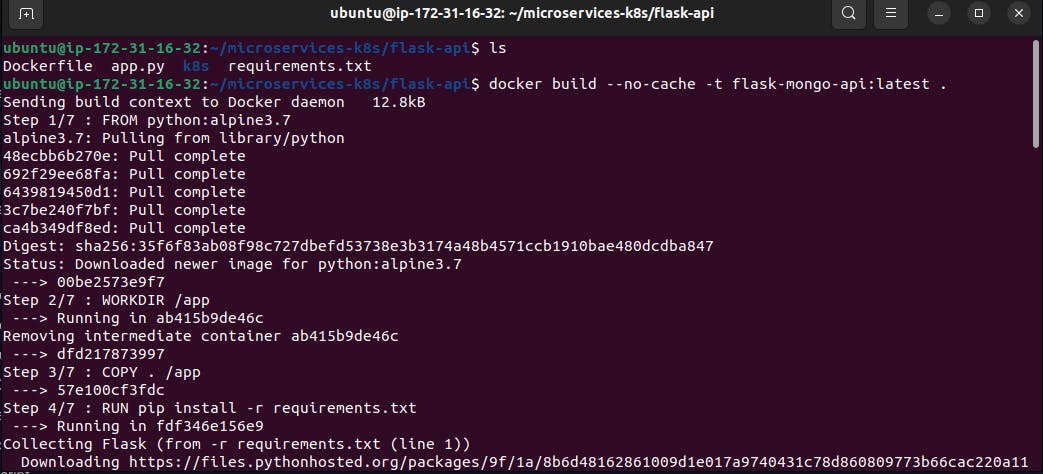
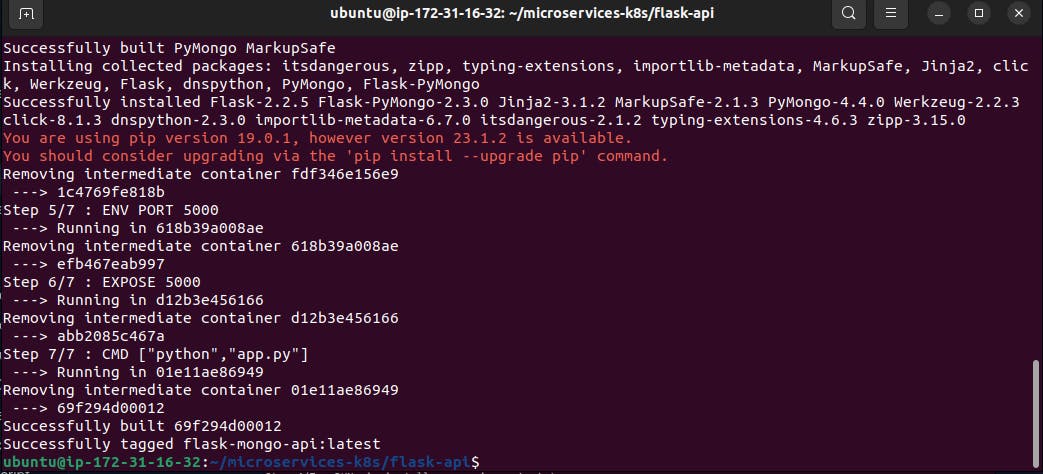
Our docker API image is ready. now to check use the given command below.
  docker images
  docker images -a    # "-a" for all images active and non-active
Let's push the Image to the Docker Hub for reusable purposes. Docker Hub is a kind of docker Image storage or Repository. After pushing the image we don't need to build an image on the next time. we can directly use the Image from the docker hub by pulling the Image.
There is some kind of credential needed while login to the Docker Hub like a Username and Password.
Let's log in to the docker hub from our instance machine CLI.

Now tag and build the image again with the docker username eg.
docker build --no-cache -t devesh121/flask-mongo-api:latest .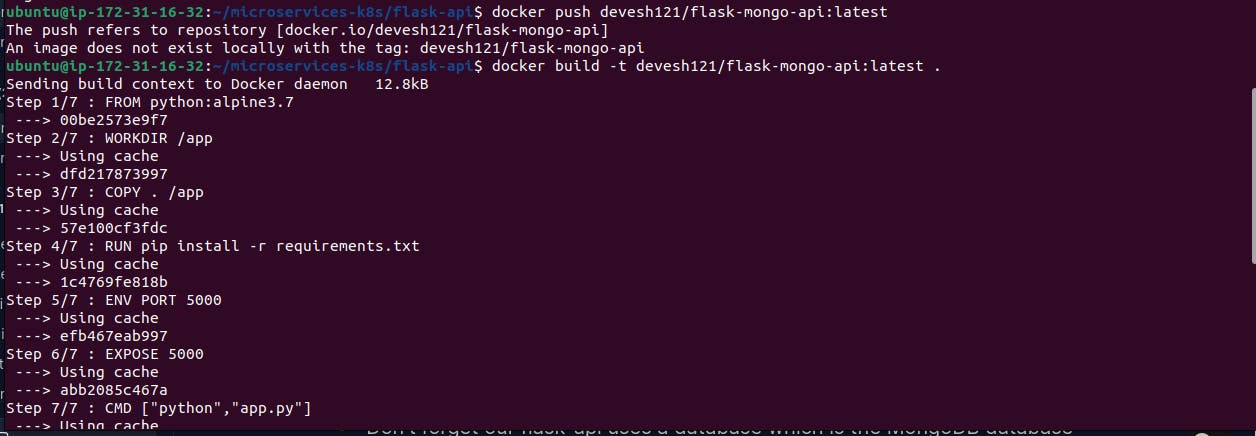
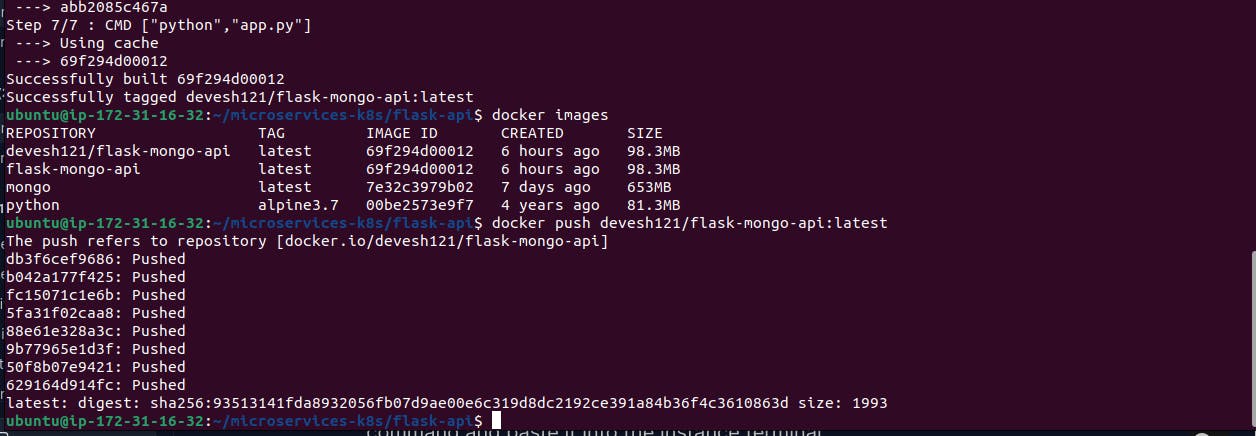
We can verify the image by visiting the docker hub account.

After this push, we can delete the image which is locally present and directly
can use it from the docker hub.
Now don't forget our flask-api uses a database which is the MongoDB database so for that, we must have the image of the Mongo database. let's copy this command and paste it into the instance terminal.
docker pull mongo:latest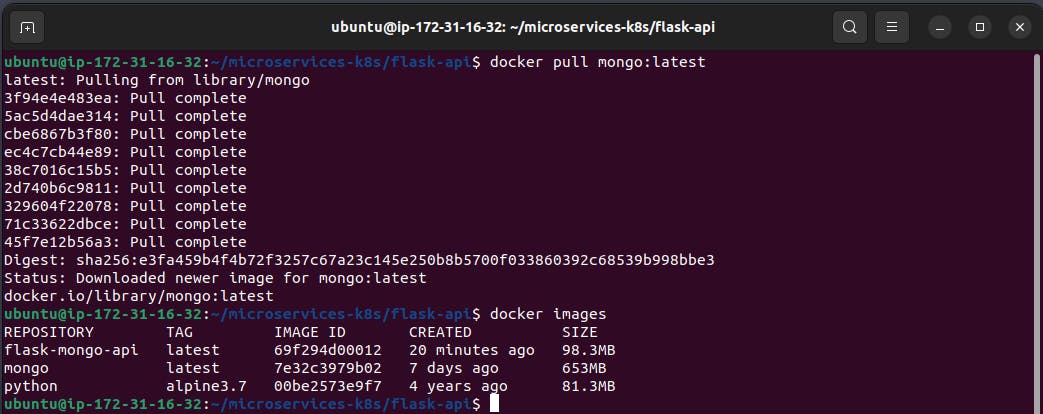
Hurre, we did it our images are ready for creating the containers.
So, if we notice that the docker container runs in isolated environments so for connecting one container to another container we need some kind of networking in this condition docker network comes to mind, so let's create the docker network.
By default, all network remains bridge network in docker.
For creating the docker network use this command:
  docker network create flask-mongo-net
  # flask-mongo-net  =>  network name

  docker network ls  # list all docker network
In this step, we are going to create our docker containers from an image with our flask-mongo-net network attach to communicate our both containers.
we can use these commands to create the containers :
  docker run -d -p 5000:5000 --network flask-mongo-net flask-mongo-api:latest
  # "-d "  --> running in detach mode.
  # "-p "  --> port mapping to 5000
  # "--network flask-mongo-net"  --> docker network which we have created.
  # "flask-mongo-api:latest" --> api image name with latest tag
docker run -d -p 27017:27017 --network flask-mongo-net --name mongo mongo:latest # "-d " --> running in detach mode. # "-p " --> port mapping to 5000 # "--network flask-mongo-net" --> docker network which we have created. # "mongo:latest" --> MongoDB database image # "--name mongo" --> this is for local search image ,if run command not find the image locally then it will from docker hub.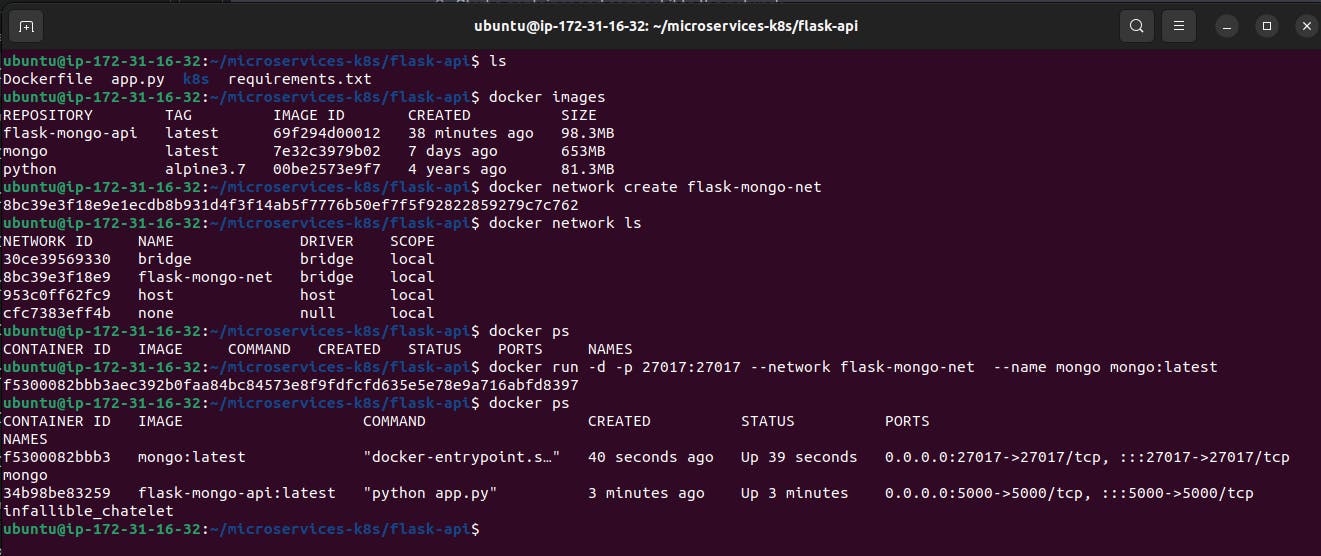
We can run this entire docker build image and run containers with a single command with the help of the docker-compose service. for doing this we must have to install docker-compose on our instance machine so let's install it.
The command for docker-compose installation :
sudo apt install docker-compose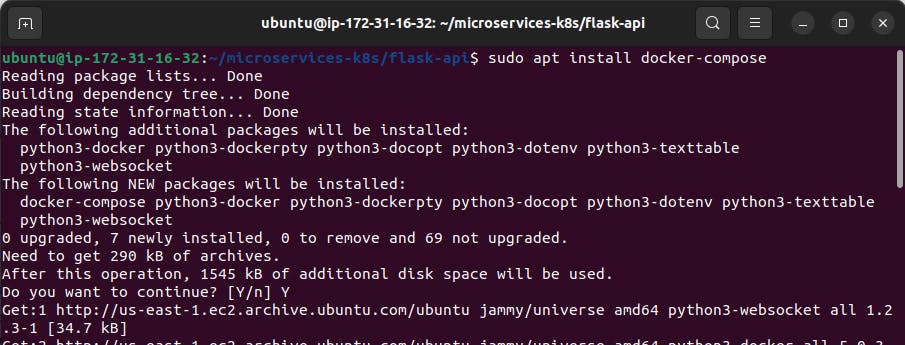

Now we need a
docker-compose.ymlfile which is the docker-compose configuration file.create a file with the name
docker-compose.ymlthen write the below content on that file.version: '3.9' services: flask-api: image: devesh121/flask-mongo-api:latest container_name: flask-mongo-api ports: - 5000:5000 mongo-db: image: mongo container_name: mongo-container ports: - 27017:27017Here we are using
version 3.9of docker-compose and we are using twoservicesone isflask-apiand another one ismongo-dbfor database purposes. Our flask-api is running onPORT 5000and Mongo database runs onPORT 27017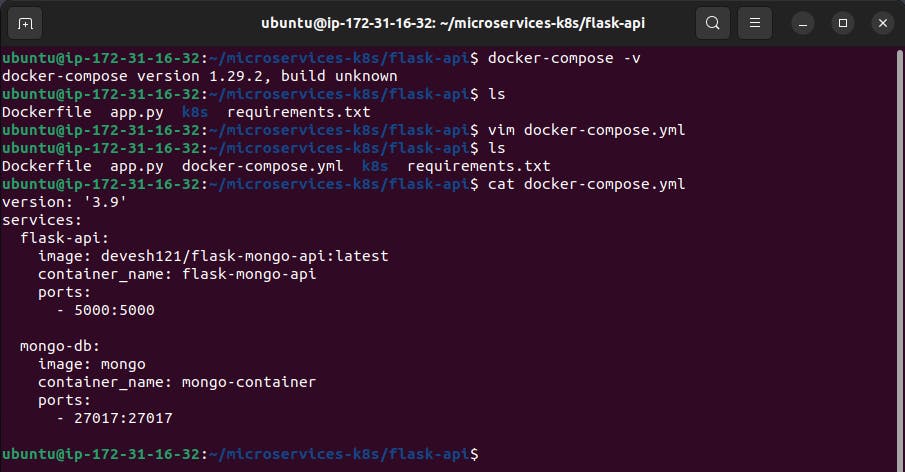
Now it's time to run the
docker-compose upcommand to run the container by pulling images from the docker hub.These are the command to run the
docker-compose.ymlfile.docker-compose up -d # "-d" for running application in background. docker-compose down # to stop all running container created by "docker-compose up " commands.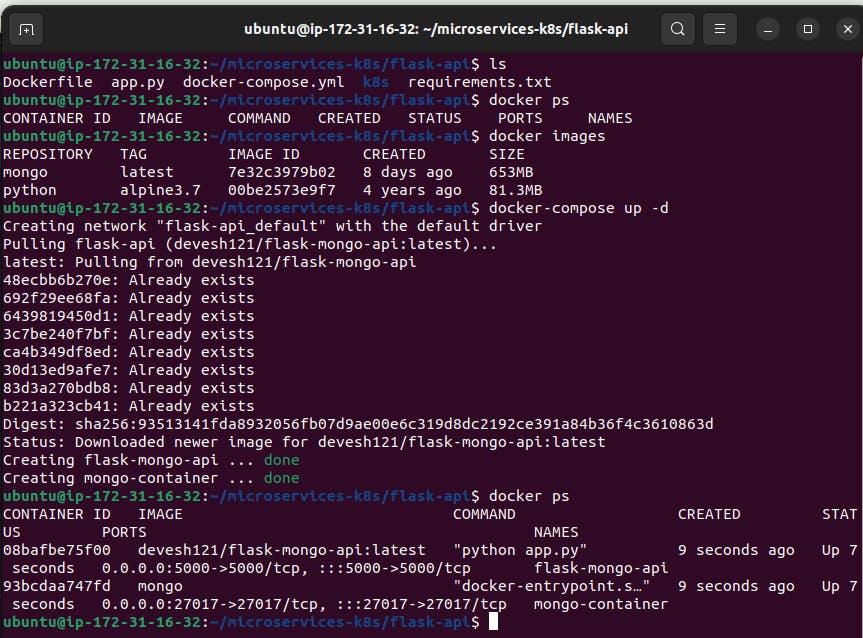
To stop all running containers created by the
docker-compose upcommand use thedocker-compose downcommand.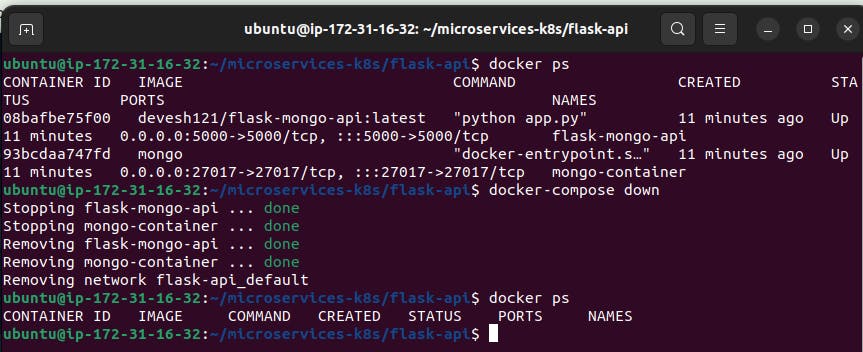
Now we have done the project our container is ready and running live on port number
5000.to verify that go to the AWS console, then click on security group on the instance dashboard, edit the inbound rule, add the custom rule for TCP port number 5000 and allow Ipv4 anywhere.
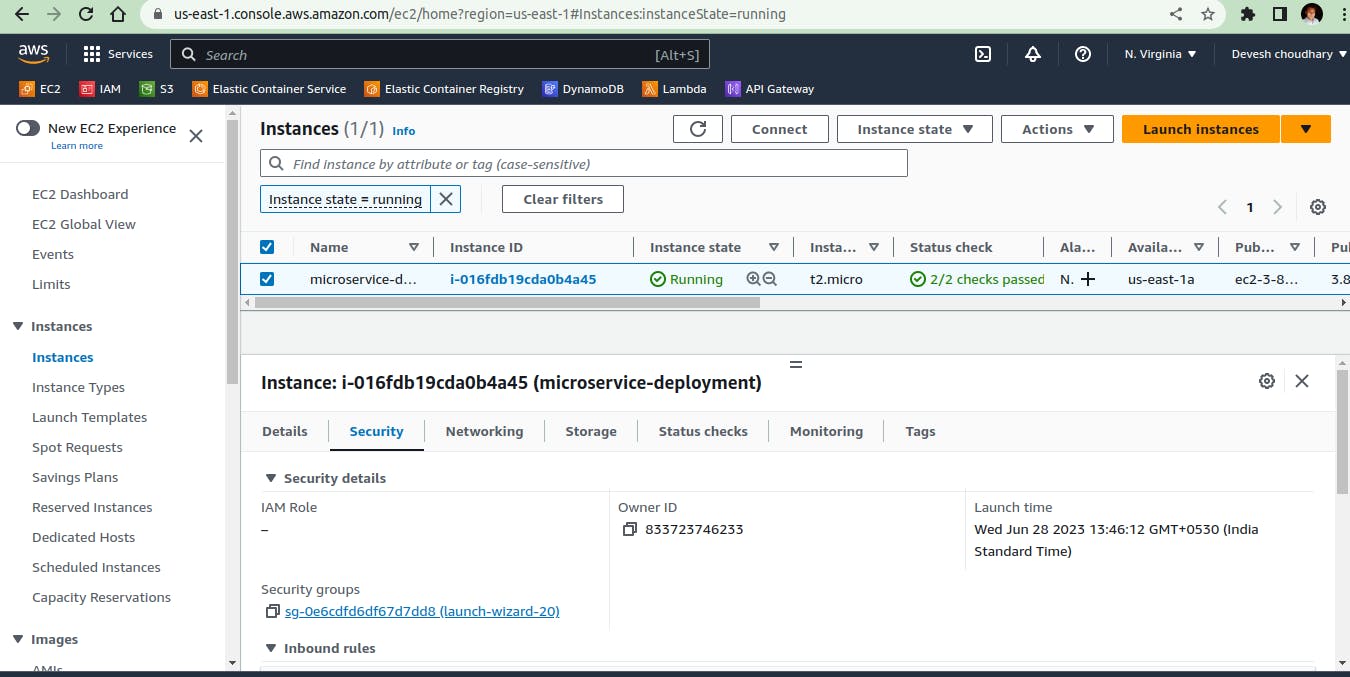
Now, we must see our flask-api is live now.

We are going to test our
flask-apiusing the Postman API testing tool.see the glance at that Postman app
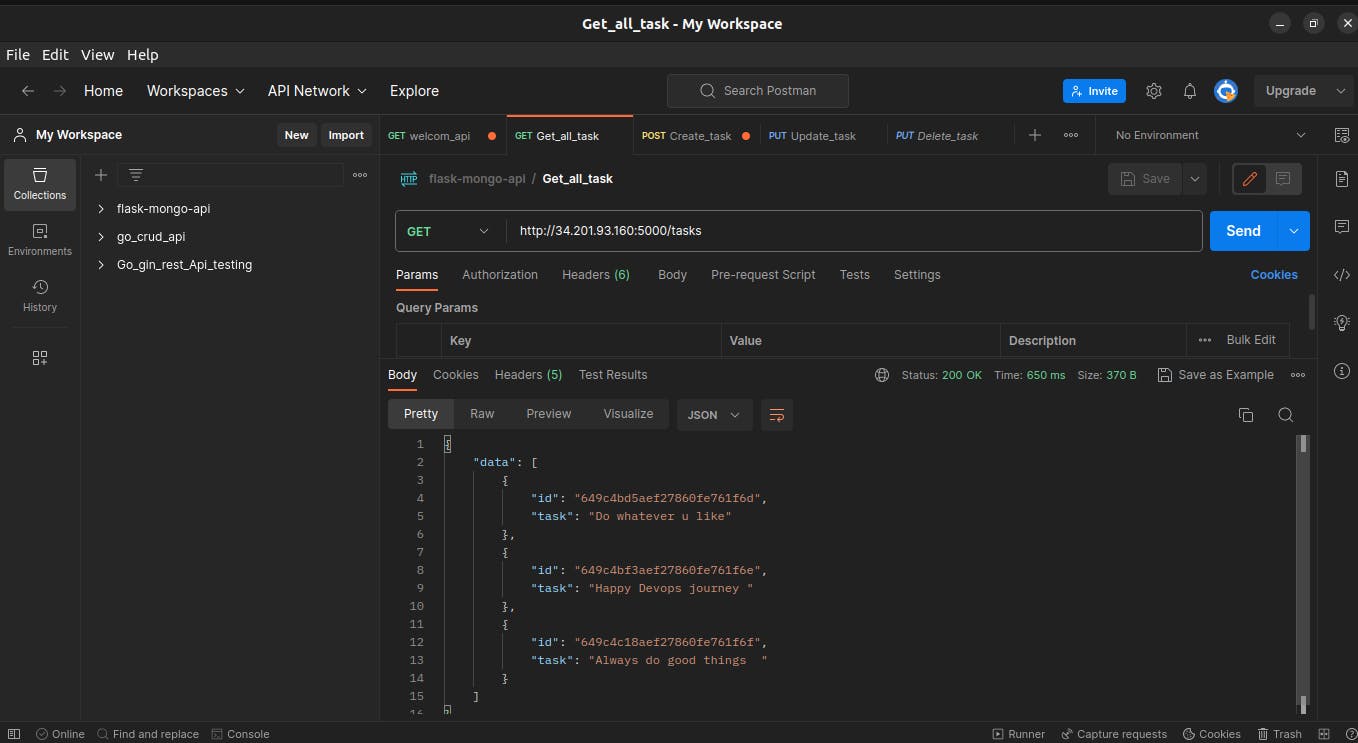
Let's test our routes:
Our app is running on
PORT 5000, so copy the public IP address from the Instance details and paste it as a URL to the browser or Postman app to test the API.don't mind my drawing skills are not so good.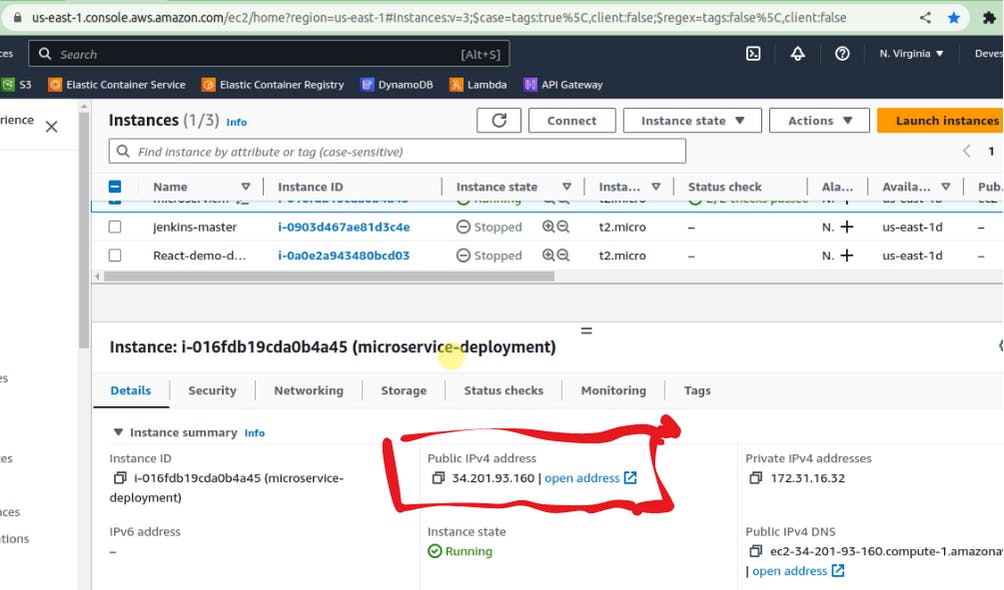
In CRUD API testing there is some most important method
a.
GET--> for getting a response from the serverb.
POST--> for creating or saving the data to the database.c.
PUT--> updating the posted data of the databased.
DELETE--> deleting the data from the database.Let's start with our first route "/" welcome page
URL: http://instance_public_IP:port_number/routeMethod: GET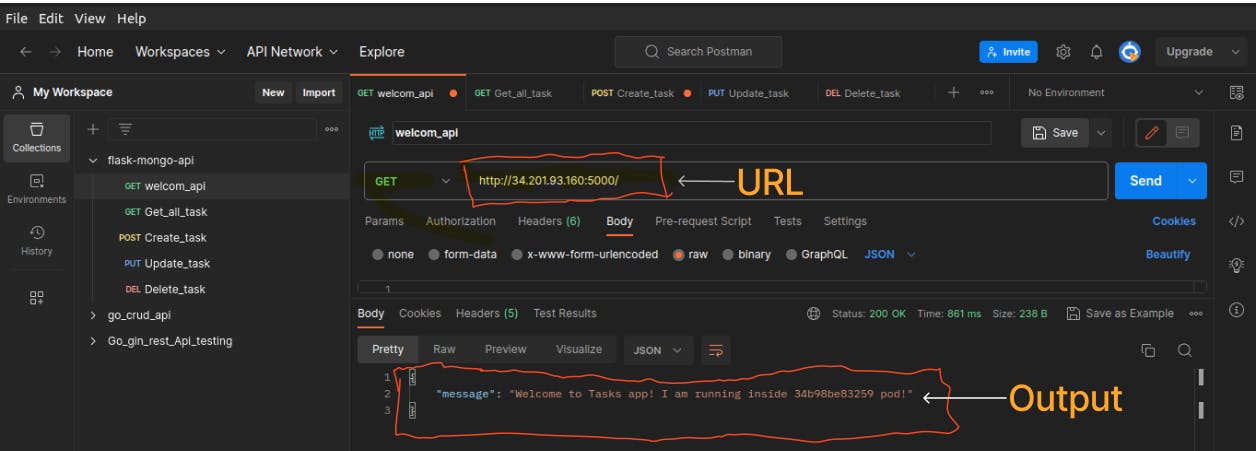
2nd method for getting all tasks
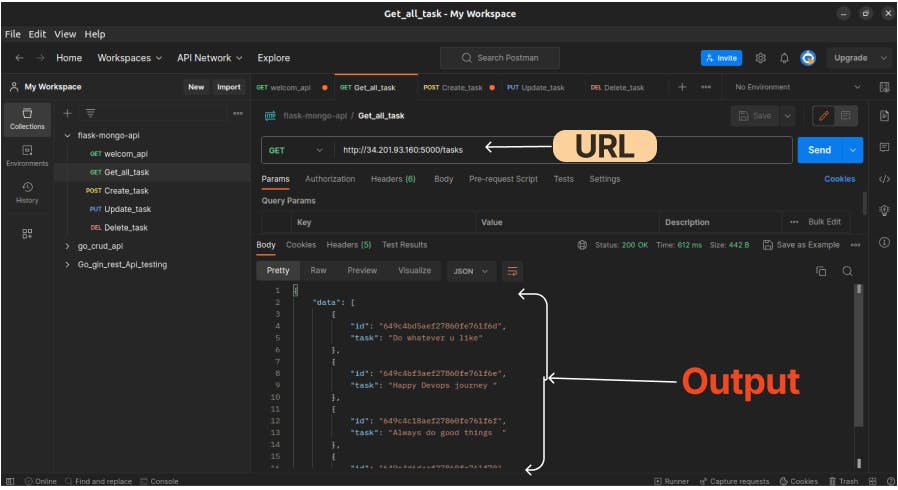
Our next method is to add our task with POST methods.
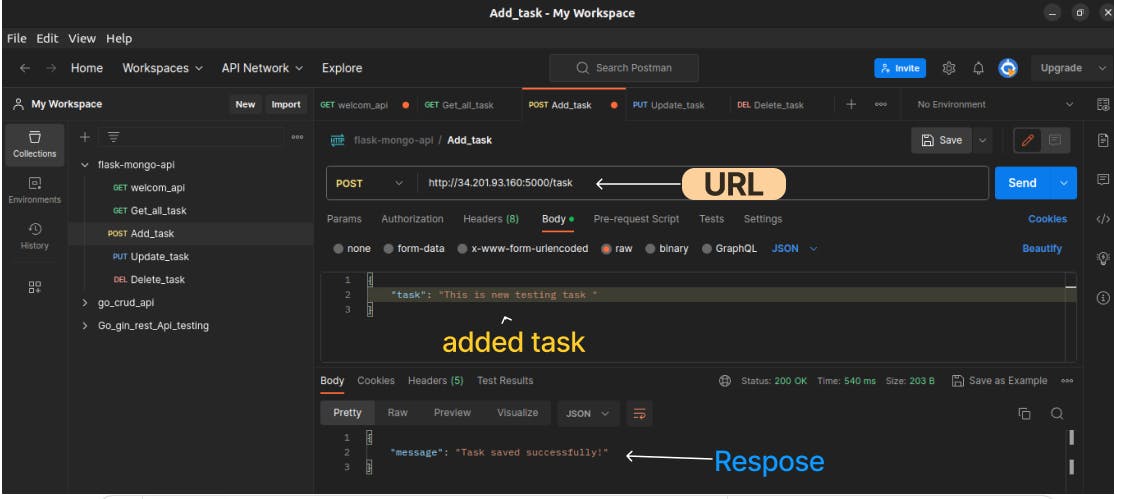
Now we are updating the task using the PUT method with the task ID
Before update :
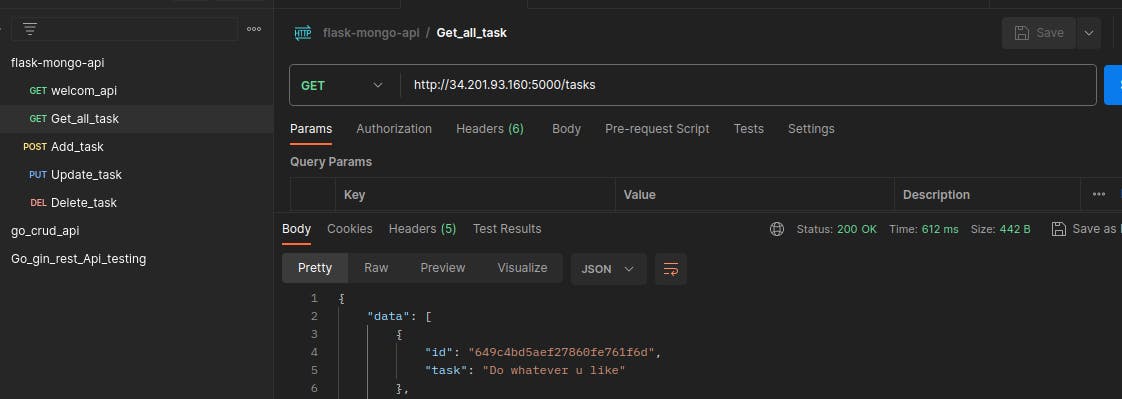
While Updating :
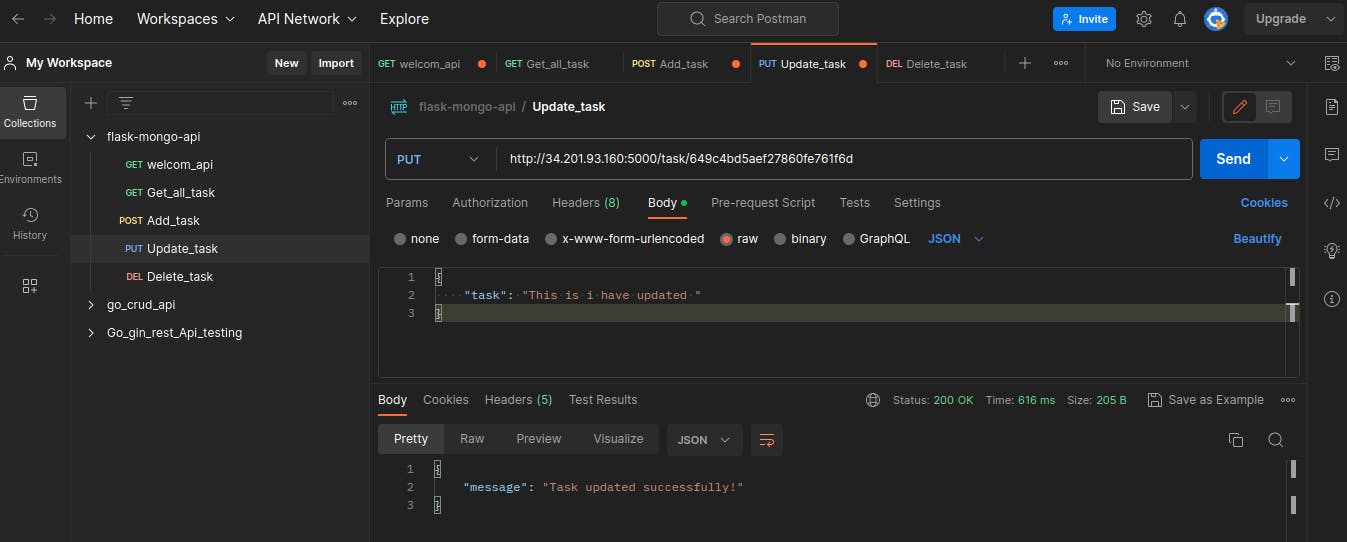
After updating :
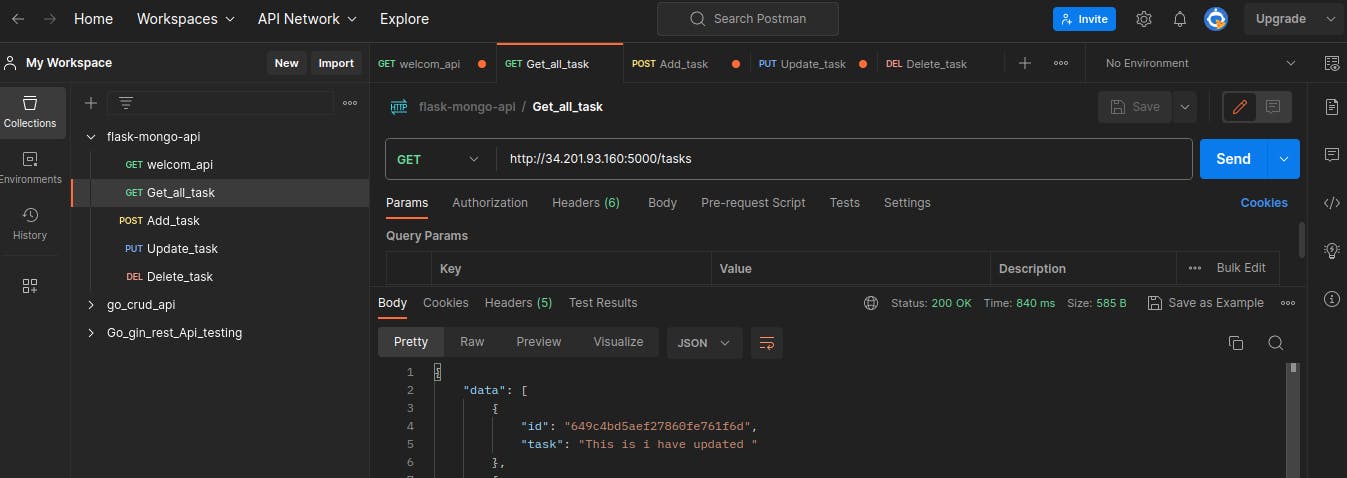
This is our last step of the CRUD action which is deleting the task with the DELETE method and task ID.
Before delete:
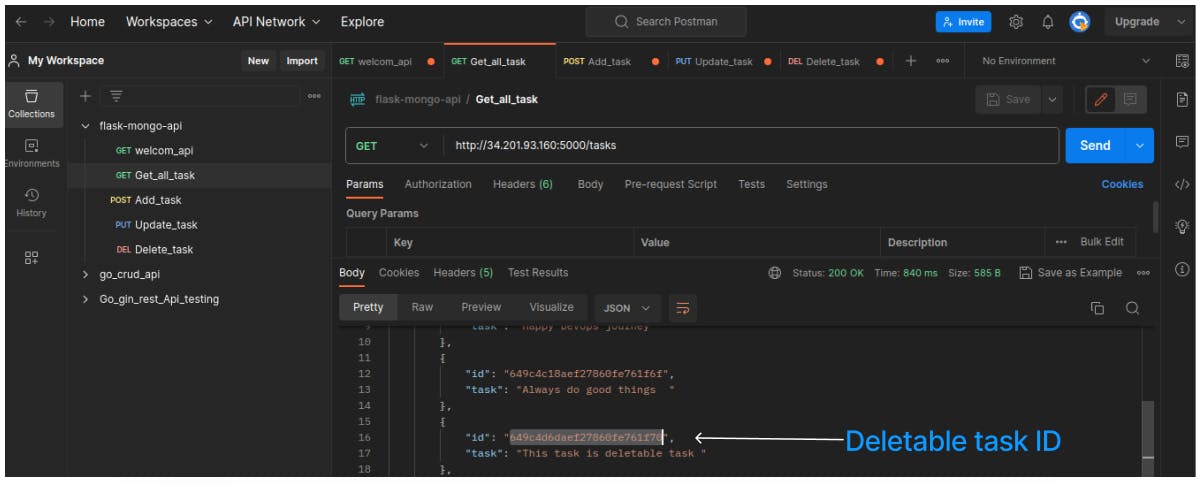
Deleting Process :
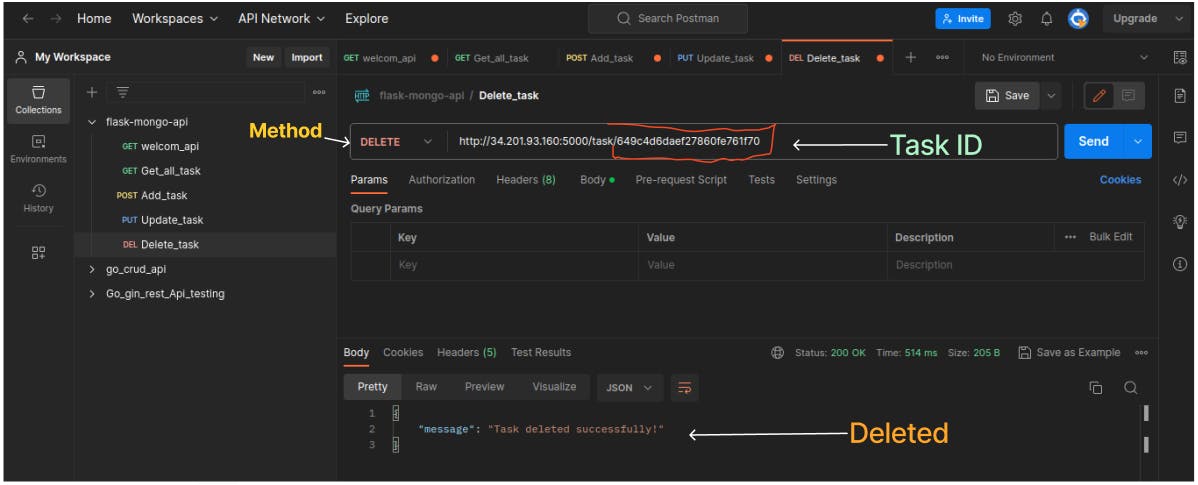
After Deleted the Task :
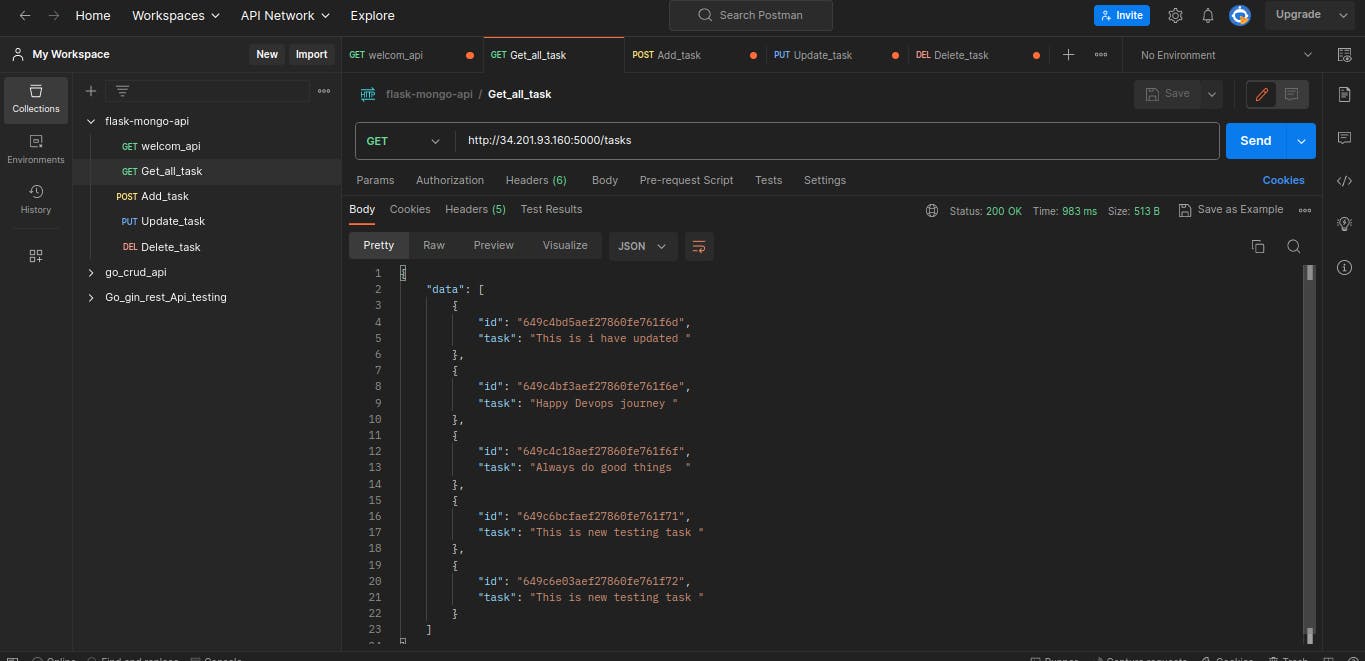
So friend this was our complete project.
Thank you for taking the time to read this article on DevOps and #90daysofDevOps! I sincerely hope you found it helpful and informative.
If you have any questions or suggestions for improvements, please don't hesitate to reach out. Your feedback is valuable to me.
Wishing you continued success and happy learning on your DevOps journey!
